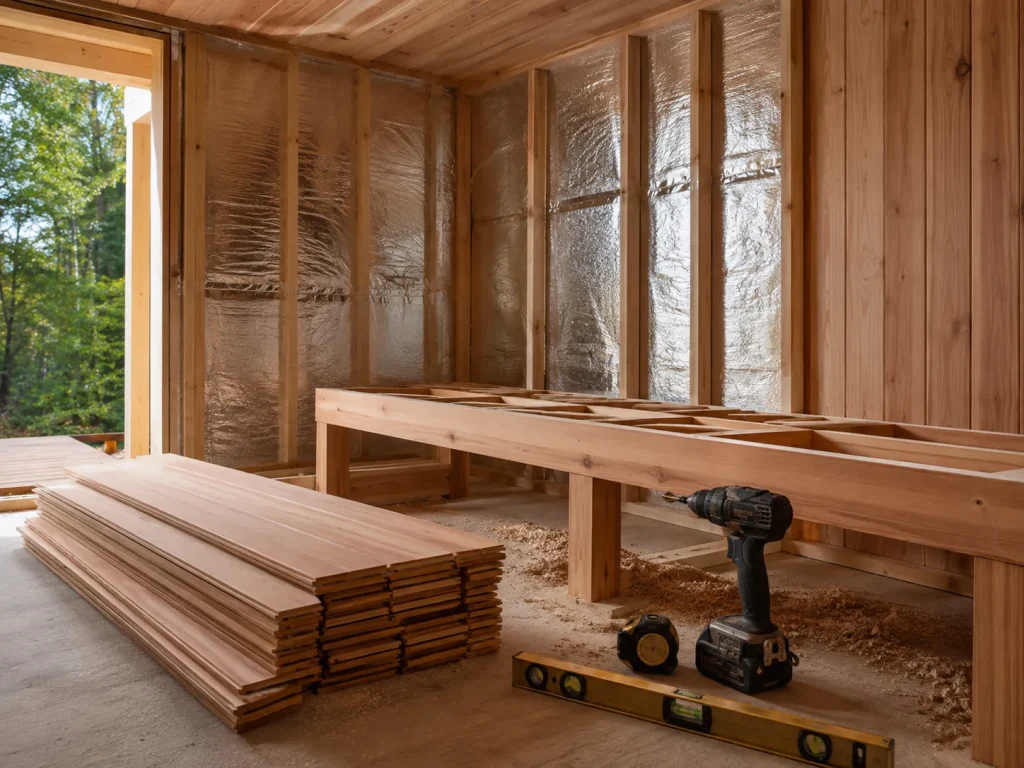
Most guides to building a sauna open with a materials list. That is the wrong shape for the job. Building a sauna is a chain of decisions in which each one narrows the next, and the two decisions at the front of the chain determine most of what follows.
Get those two right and the build is genuinely straightforward carpentry. Get them wrong and you find out eighteen months later, when the room takes an hour to heat or the wall cavity smells.
Worth stating: we rent saunas, so we would rather you did not build one. Read accordingly. The guide below is the one we would follow ourselves.
The order
Step | What you decide | Why it sits here |
|---|---|---|
1. Decide the heat source | Wood or electric | This sets your permit, your wiring and your flue |
2. Size the room to the heater | Not the other way round | Heater kW is rated by cubic volume |
3. Frame and insulate | Standard stud framing, mineral wool | Nothing exotic at this stage |
4. Foil vapor barrier | Warm side, seams taped | The step that decides everything after it |
5. Ventilation | Low intake near heater, high outlet opposite | Skipped more often than any other step |
6. Interior cladding | Cedar, alder or thermowood, no finish | Fixed with hidden or countersunk fasteners |
7. Benches | Top bench high, and deep | Depth over length, every time |
8. Heater, stones, door | Door opens outward, no lock | The one safety rule with no exceptions |
Decision one: heat source
This comes first because it decides your permit position, your wiring, and if you are cutting a hole in the roof.
Electric means a 240 volt supply on its own breaker, pulled out to the sauna as a new run. That is an electrician, and in most jurisdictions a permit as well. A wood stove needs a flue, clearances to combustibles and a non-combustible hearth, and it usually needs a different set of approvals. Neither is harder than the other, but they are entirely different projects and you cannot defer the choice.
The two also give different heat, which matters more than most first-time builders expect. The comparison of wood-fired and electric heating covers what each is like to live with. If you are still weighing traditional against infrared, note that an infrared build is a completely different structure with different insulation logic, and the two are not variants of one thing.
Decision two: size the room to the heater
This is the one people get backwards. They design a room they like the look of, then go shopping for a heater to fit it, and end up either underpowered or paying for capacity they cannot use.
Heaters are rated by the cubic volume of the room they can bring up to temperature. Work out the volume you want first, in cubic feet, then buy the heater rated for it, then build to that volume. Undersize the heater and the room never reaches temperature or takes twice as long. Oversize it and you cook the space near the stove while the far corner stays cool.
Two adjustments that catch people out. Any uninsulated glass, including a full glass door, adds effective volume and needs to be accounted for. And ceiling height is not free space: a high ceiling puts heater output above your head where it does nothing for you. Around seven feet is the target, and lower is better than higher.
For what temperature you are actually aiming at, and how that differs by format, our temperature guide has the figures. The costs of all of this are worked through separately rather than repeated here.
Frame, insulate, and then the step that matters
Framing is ordinary stud work. Insulate the walls and ceiling with mineral wool, which handles the heat and does not off-gas.
Then the foil vapor barrier, and this is the step that separates a sauna that lasts from one that rots quietly.
A sauna generates hot, saturated air. That air will move into the wall cavity unless something stops it, and once it reaches the cooler outer layers it condenses into liquid water inside your insulation. Foil goes on the warm side, over the insulation and under the cladding, with every seam taped and every penetration sealed. It reflects heat back into the room as a bonus, but the real job is keeping moisture out of the structure.
A gap here does not announce itself. You get no symptom for years and then you get a smell, and by then the fix involves stripping the interior. It costs very little to do properly and it is the single least forgiving step in the build. It is also why interior wood is left bare, since a sealed surface traps moisture underneath it and cannot be sanded back.
Ventilation, which almost everyone underbuilds
A sauna needs air moving through it, both while it runs and afterwards.
The standard arrangement puts a vent down at floor level beside the stove and a second one up near the ceiling on the far wall, so fresh air is pulled in across the heat and carried up and out. That circulation is what stops the space stratifying into a scorching ceiling and cold ankles, and it is what re-oxygenates the room during a long session.
The outlet should be adjustable, because you will want it more open while the room is in use and fully open afterwards to dry it out. Sizing a sauna for a tight seal is a mistake: a sauna that cannot breathe feels stale within twenty minutes and never dries properly between uses.
If a cold plunge is going in alongside the sauna, site it now rather than later. The alternation between heat and cold is the practice, and a long walk between the two rooms is the friction that quietly ends it.
Cladding, benches and the mistakes worth avoiding
Cedar, alder and thermally modified aspen are the usual interior choices. All are low resin, so they do not weep sap at temperature, and low density, so they do not become too hot to touch. Do not use pine or anything resinous inside, and do not apply any finish at all. Bare wood is correct.
Fix cladding with hidden fasteners, or countersink and plug. An exposed screw head in a sauna is a small metal object at 190 degrees positioned at skin height, which is a lesson people only need once.
Build the benches deep rather than long. Depth is what lets somebody stretch out fully, and stretching out is what puts your whole body into one heat band rather than leaving your head roasting above your knees. Set the upper bench high, close to the ceiling, because that is where the usable heat collects. Use the same low-resin timber and leave gaps between the boards for drainage and airflow.
The door rule
The door opens outward. It has no lock and no latch that can jam. A simple ball catch or a friction closure is all it needs, so that a person inside can always get out with a push, including somebody who has become unwell.
This is the one thing in the entire build with no acceptable variation. If you take nothing else from this page, take that. Have a look too at the conditions that make heat exposure a bad idea once other people start using the room regularly.
Do you need a floor drain
Google raises this one on the search, and for a home sauna the answer is usually no. If you are ladling water onto stones a few times a session, a sloped floor in a waterproof material with a gap under the door is enough.
A drain becomes worth it if you plan on hosing the room down, which is a commercial pattern rather than a domestic one. Whichever you choose, the floor must be non-absorbent and the duckboards on top must come out to dry, since the floor rather than the benches is where hygiene problems live in any sauna.
Before you start
Two honest questions. First, do you know what you like? Wood-fired and electric feel different, and a room at 195 degrees is a different proposition from one at 165. Building before you know that is how people end up with a sauna they do not use, and how often a sauna habit actually holds up is worth being realistic about first.
Second, is building the right route at all? For some people it clearly is. For others a kit, a prefab or not owning one and booking instead works out better, and the honest comparison is worth making before the lumber arrives. Anyone in Connecticut can settle the first question in an evening by spending a session in a wood-fired room and paying attention to what they actually liked about it.